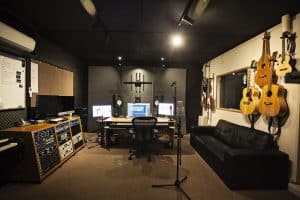
Over the last year and a half, I have been extremely fortunate to be able to mentored by Master producer and engineer James Englund at his Sydney Recording Studio Crash Symphony Productions. I have learned many things in his Sydney Recording Studio along the whole chain. From set up to mixing and most recently mastering. In this series of blogs starting with this one I am going to go through the details of the steps of mastering a track or album as taught to me by James.
At Crash Symphony Sydney Recording Studio, we use the top of the line UAD plugins. So these blogs pertain to the use of those plugins but the principles are applicable to other sydney recording studio plugin suites such as waves.
Sydney Recording Studio: Multi-band Compression
I am going to start these series of blogs with Multi-band compression. Multi-band compression is at the top of the mastering chain perhaps just after an initial line EQ that does some of the high level EQ such as low cutting.
I learned a lot about multiband-compression when I was mastering my latest live Sound Healing album. The album was recorded live “through the air” not through a desk using a Zoom H4. The basic recording sounded really bad and my initial thoughts were “I can’t turn this into an album” but after some encouragement from James I decided to see how good I could get it to sound in his Sydney Recording Studio.
So I am coming at multi-band compression from an extreme case. A case where the recording sounded really bad and we made it sound good. Most of the time once you get to mastering, mixing would have taken care of a lot of stuff. But in this case, since it was recorded live I didn’t have that luxury. So starting from this extreme case these principles could have been applied to anything.
Here is a cool video showing a great use for a multi-band compressor
Continued in Part II


